| HOME | ARCHIVE | FILM VFX | CONTACT |
|---|
 |
|---|
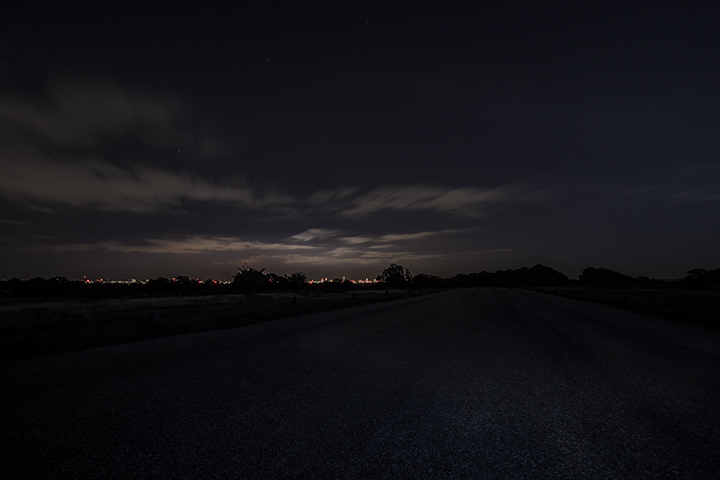
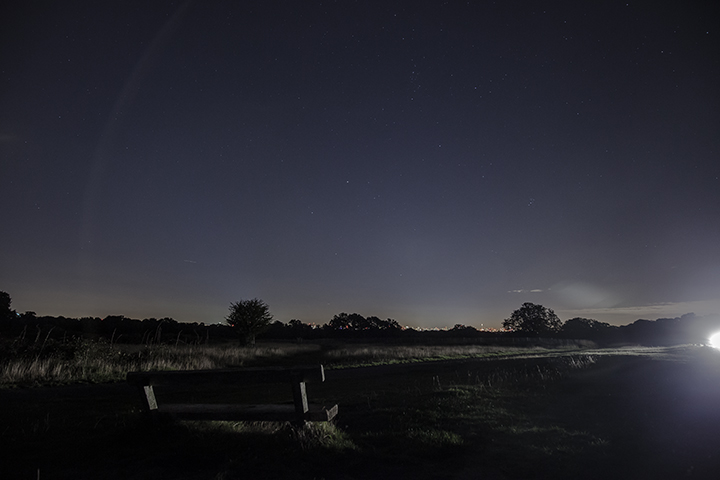
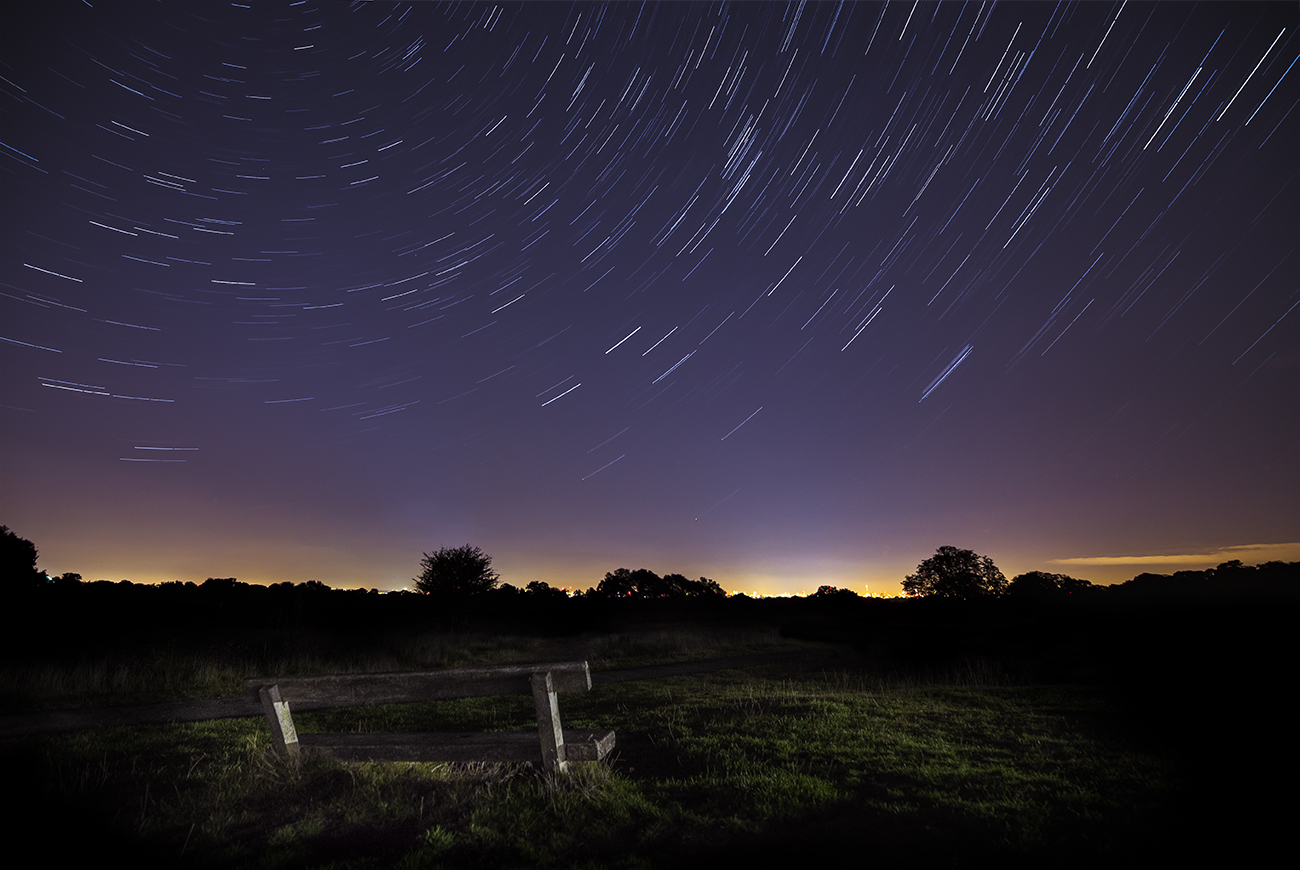
Star Trails Over London My first star trials photo. Taken from Richmond Park overlooking the heavily light polluted London City! Richmond Park itself is the darkest place in London and gunning for a Dark Sky Reserve listing. admittedly I chose the worst location to emphasis this, but walking into the centre of the park truely is dark and the stars are seen in their hundreds, but I had the idea of London glowing below the stars with this particular bench in the foreground. With all the research I did, light pollution seemed to crop up quite often, I wanted to see it for myself. I thought I'd take this chance to go through my workflow and pinpoint some problems I had to deal with, if your interested in trying star trail photography or even night skies then read on...
|
|
The Workflow The Idea
The Research
The Timing
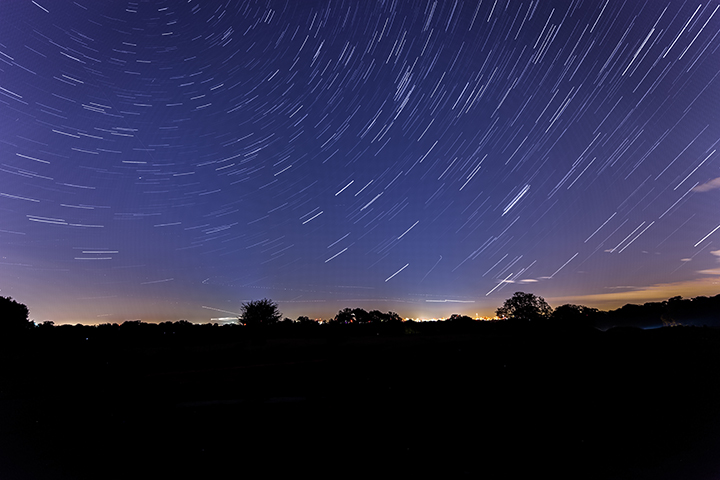
The Shot The planes, something I never thought about until I started the shot and just saw them all flying around. The final blend was littered with bright lines across the image which I decided to edit in every shot before combining. The car headlights. Even though the only car that pasted that night light up the scene and the bench, it also produced a bright hue in the sky. You wouldn't think it would affect the final merge so much but it did. It produced a tight banding across the entire image as you can see from an early render I did. |
|
|---|---|---|
The Post Then it was just a case of overlaying the shot where the cars headlights illuminated the bench and painting that over the final image. I did take some shots where I light painted the bench myself with a torch but I found the unexpected headlights shot to work very well.
|
||
Conclusion Study the scene for unwanted light like planes or cars, even a little light leaked into one shot will have an effect on your final shot. Planning is essential. The last thing you want to do is take 2 hours of shots, then spend hours waiting for Photoshop to process and merge them together, only to find errors that render the image as unusable! |
||